So, you want to blast-off at the speed of light? Well, here’s a quick step-by-step guide to initiate your launch!
1. Once you have logged-in and are ready for lift-off, click “Companies/People” under the settings link in the top right hand corner.
Add people to your company or add a whole other company who will need access to your project.
2. Next, click “+New Project” and enter the project’s name and description.
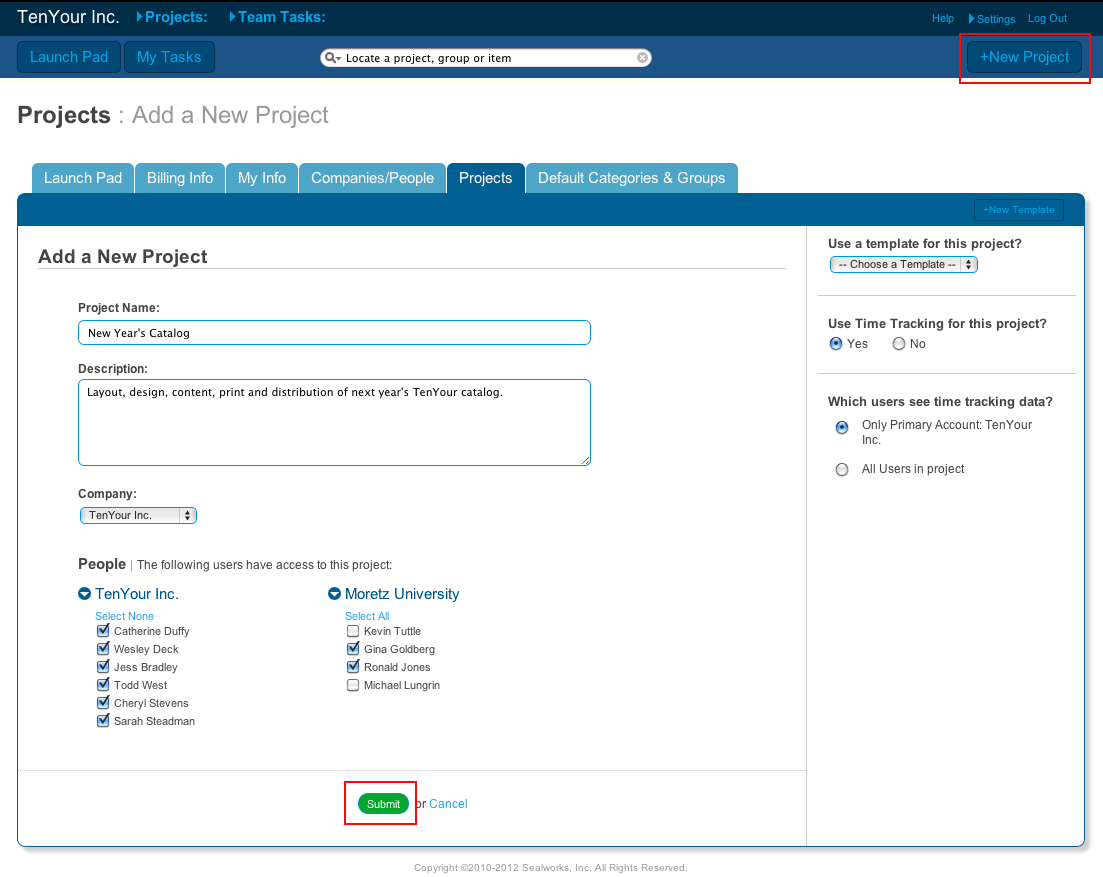
Then, choose the company with whom the project is associated. Below that, choose the companies and individual people who will have access to the project.

On the right hand side, choose whether or not to use the time tracking feature and whom may see it. Click “Submit.”
![]()
3. After clicking submit, you’ll be taken to the Tasks tab. Click “+New Task” on the right side of the screen. Enter the task’s subject and description.
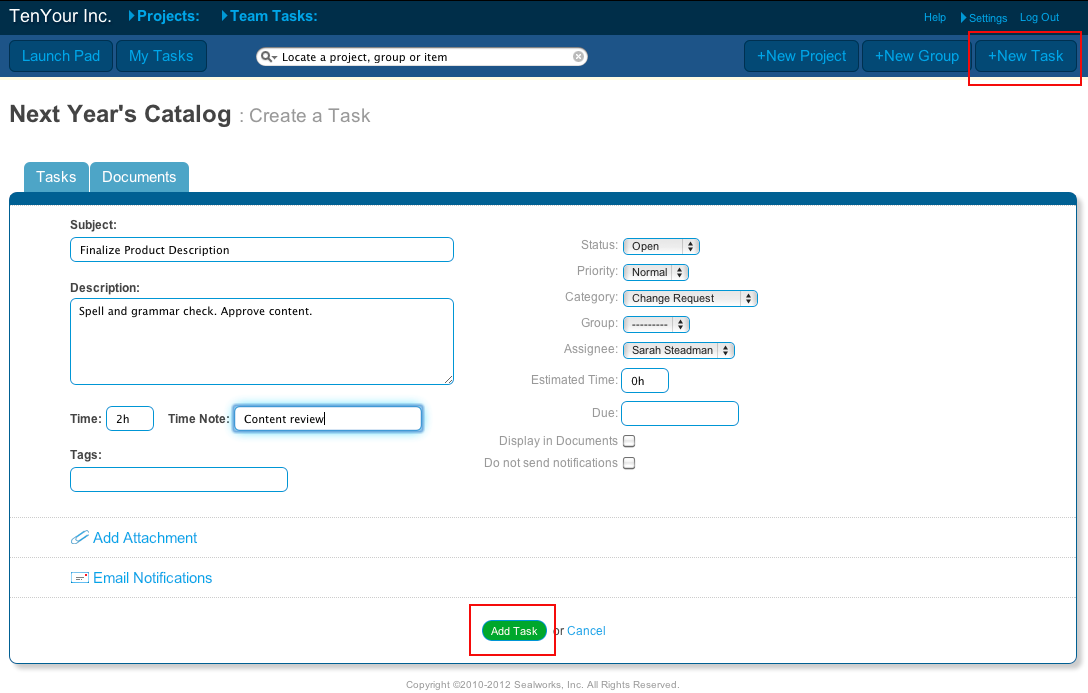
You can then enter any time spent and any notes related to that time, add a tag, an attachment, and select who you want to receive e-mail notifications.

On the right side of the screen you will select the task’s status, priority, category, group, assignee, estimated time, due date, document display and option to not send notifications. Hit the “Add Task” button.

4. If you have a task assigned to you or you’d like to comment on a task, simply click on the task’s name and you are taken to the details view.

Comment or update the task as necessary and then click Submit.

5. That’s it! Feel free to keep adding tasks and closing them out after the mission is complete!